


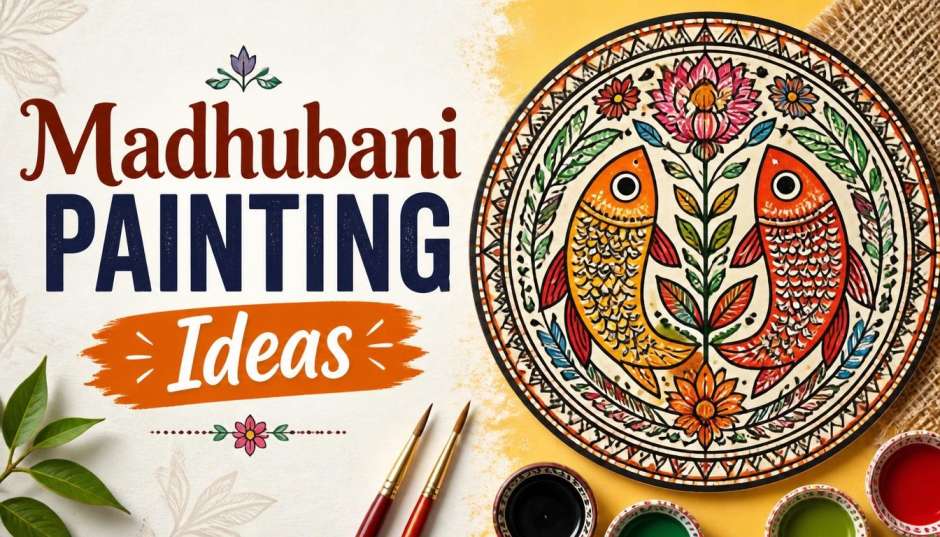
Black and white Madhubani painting easy enough for beginners starts with one decision: pick the Kachni style. Kachni means “line” in the Mithila tradition. Artists use only one or two colours, usually black and red, and build the entire image from fine lines and hatching.
Just a black pen, a steady hand, and a pattern you can repeat. Madhubani painting comes from the Mithila region of Bihar, India. Women painted these designs on mud walls for weddings and festivals long before anyone put them on paper.
The black and white version strips away the bright colours and leaves the bones of the art: double outlines, fish, lotuses, peacocks, and borders that fill every empty space. Here are the ideas that actually work for a first attempt, and the mistakes that ruin them.
Madhubani Painting Which State? The Short Answer
Bihar. Specifically, the Mithila region in northern Bihar. The art form is also called Mithila painting. It spread to parts of Nepal’s Terai region that sit next to Bihar.
Read Also: Creative Art Projects for Kids: Boosting Imagination and Fine Motor Skills
The name “Madhubani” comes from a district in Bihar. The style is old. Some trace it to the Ramayana, when King Janaka commissioned paintings for his daughter Sita’s wedding.
That origin story matters because the motifs still carry wedding meanings. Fish for fertility. Bamboo for family. Sun and moon for prosperity.
Why Black and White Works Better for Beginners?
Colour Madhubani paintings demand decisions. Which red? How bright? Where does the yellow go? Black and white removes those choices. You focus on line quality and pattern.
The Kachni style uses fine lines and hatching to fill shapes. One or two colours only. That’s the version to start with. The Bharni style fills shapes with solid colour, which comes later once your lines are steady.
What you need: A thick drawing sheet. A pencil. A black marker for outer outlines. A fine-tip black pen for inner details. A black poster colour and a fine round brush for filling large black areas. That’s it. No expensive supplies.
Idea One: The Madhubani Fish (Matsya)
The fish is the easiest entry point. It appears in almost every Madhubani painting and carries meaning: fertility, good luck, procreation. The steps that actually work:
Draw a large oval for the body. Add a triangle tail. A small circle for the eye. A curved line for the mouth.
You Must Also Like: Naive Design Layout Inspiration: Simple Ideas And Tips
Now the part beginners skip: draw a second outline just inside the first, all the way around. Leave a narrow gap between the two lines. Fill that gap with short parallel lines, like ladder rungs.
Divide the body into sections with curved lines. Fill each section with a different pattern. Scales as small curves. Dots. Zigzags. Criss-cross lines. Tiny circles.
The tail gets lines fanning out from where it meets the body.
The honest mistake: Leaving empty space. Madhubani paintings fill every inch. The background around the fish needs small flowers, leaves, or bubbles. Empty paper looks unfinished, not minimalist.
Idea Two: The Peacock
The peacock means love and beauty in Madhubani tradition . It’s harder than the fish because of the tail. But the black and white version simplifies it.
Draw the body as a teardrop shape. Add a long neck and a small head with a crest. The tail fans out behind, and here’s the trick: you don’t draw every feather. You draw the outline of the fan, then divide it into sections with curved lines, then fill each section with patterns.
The eye of each feather gets a small circle with a dot inside. Repeat it. The repetition is the point.
What goes wrong: Trying to make the peacock look realistic. Madhubani doesn’t do realistic. Faces are in profile with one large eye. Bodies are flat. Patterns matter more than proportion.
Idea Three: Lotus and Border Patterns
The lotus represents purity. It’s also the easiest flower to draw because the petals are symmetrical.
Draw a central pointed petal. Add petals on either side, getting slightly smaller. Outline the whole flower with a double line. Fill the gap with fine lines. Fill the petals with dots or tiny curves.
Then practice the border. Madhubani paintings almost always have a decorative border. Double lines with a pattern between them: triangles, waves, small flowers, or repeated curves. The border frames the painting and teaches you rhythm.
Idea Four: The Sun with a Face
The sun often appears in Madhubani art as a central motif. It has a face. That sounds strange until you see it. The sun gets eyes, a nose, and a mouth, surrounded by rays.
Draw a circle. Add a face inside: two large eyes, a small nose, a simple mouth. Then draw rays around the circle, each one outlined twice and filled with lines or dots.
This motif works well for a small practice piece because the circle gives you a natural boundary. Everything stays contained.
How to Learn Madhubani Painting Without a Teacher?
You don’t need a class. The patterns repeat. That’s the whole teaching method.
Copy one motif ten times. The fish first. Then the lotus. Then a border. The tenth version will look different from the first. Better lines. Steadier hand. Cleaner double outlines.
What to avoid: Buying expensive supplies before you know you’ll stick with it. A basic black marker and a fine-tip pen work fine. The traditional artists used twigs, matchsticks, and fingers. You can use a cheap pen.
One practical tip from experience: Trace the same design on four sections of one sheet. Do it four times on the same page. The repetition forces your hand to learn the pattern . By the fourth one, you won’t need to think about the lines.
The Rule That Makes or Breaks a Black and White Madhubani
Double outlines. Every shape gets outlined twice. The gap between the two lines gets filled with fine lines or dots . This is the single feature that makes a drawing look Madhubani and not just like a doodle.
If you skip the double outline, it’s just a fish. With the double outline and a filled gap, it becomes the style.
What to Draw First?
Start with the fish. One fish, centered on the page, with a border around it and the background filled with small patterns. That’s a complete black and white Madhubani painting.
It takes an hour if you’re slow. It teaches you every skill you need for the next one: double outlines, pattern filling, borders, and the discipline of leaving no empty space.
The peacock comes second. The sun third. By then you’ll have your own ideas.

