




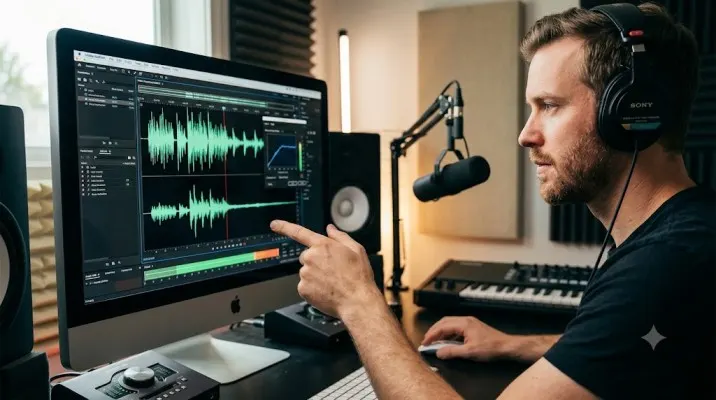
Know more information how to remove background noise audio? A friend sent me a voice memo last week. He was standing near a busy road, and you could barely hear his voice over the traffic. The recording was almost useless. This is a problem we all face.
Whether it's a podcast recording ruined by an air conditioner or a Zoom meeting captured on a laptop mic, background noise destroys audio quality. The good news? You don't need expensive software or a soundproof studio to fix it.
So, How to Remove Background Noise Audio?
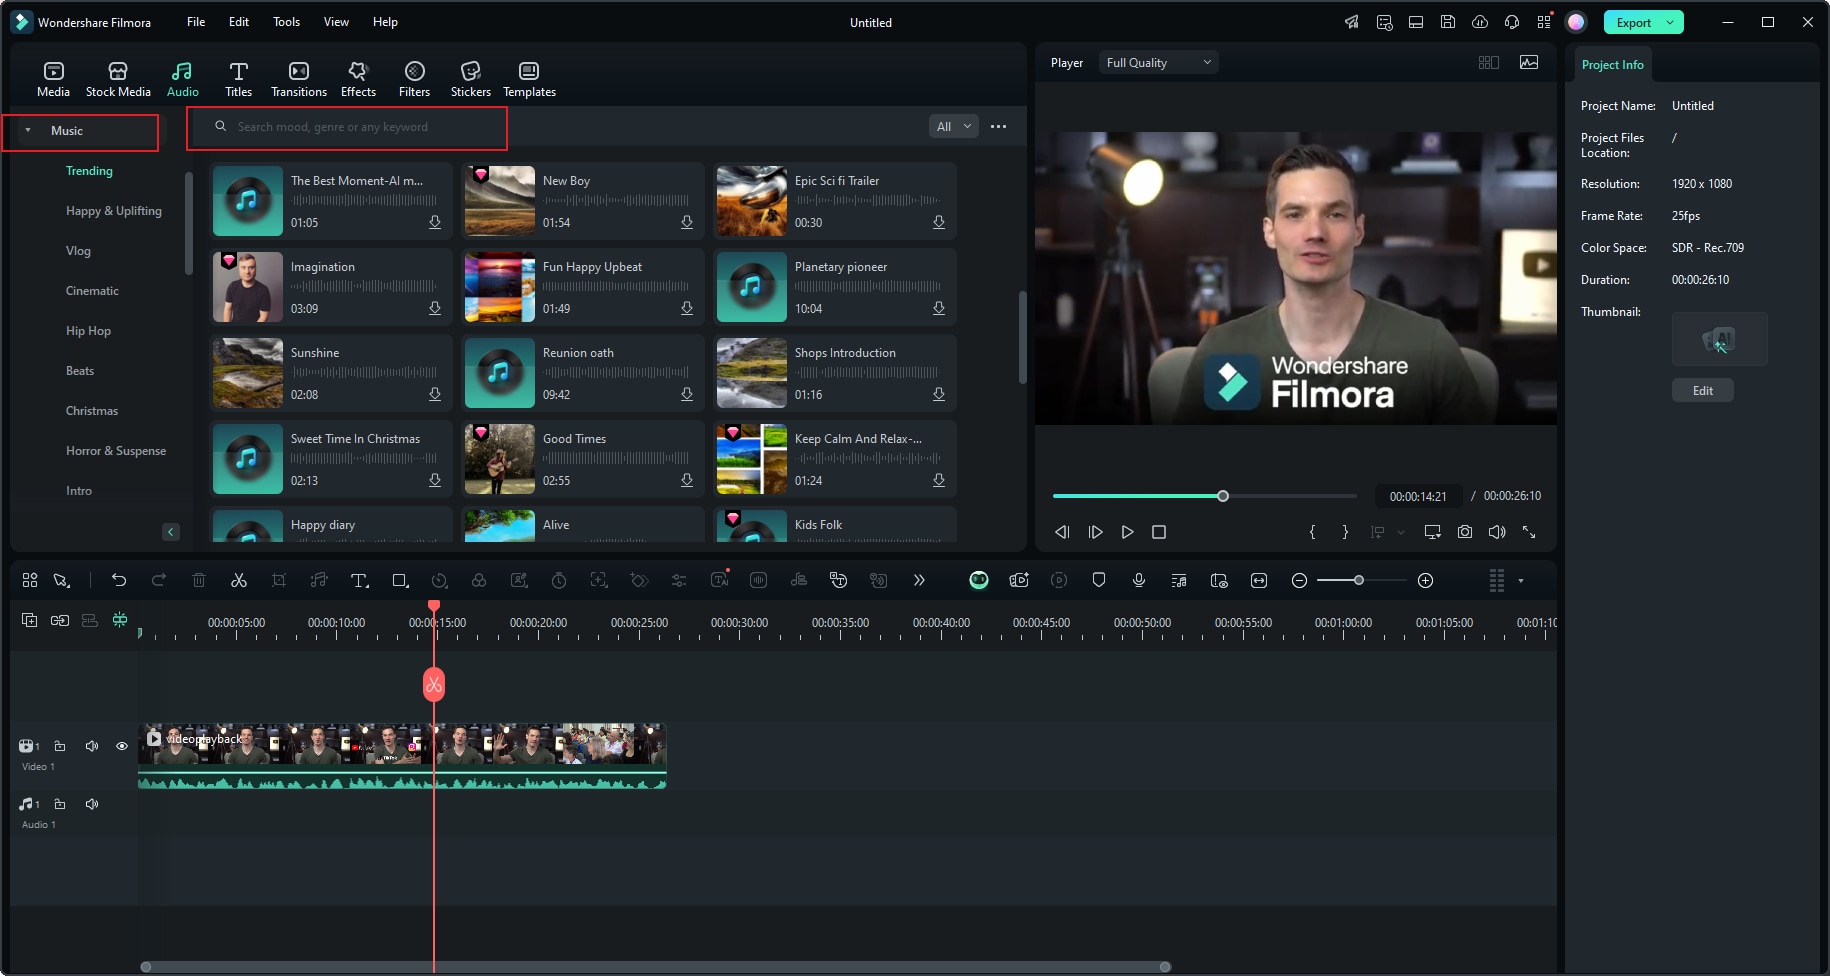
I’ve spent the last few months testing different ways to remove background noise from audio quickly. Some tools worked well. Others made recordings sound hollow or robotic.
Related Article: How to Layer Synths Without Phase Issues? Easy Guide
The key is finding the right method for your specific situation. Let me walk you through what actually works.
Why Background Noise Ruins Recordings?
The problem with noisy audio goes beyond annoyance. Viewers and listeners associate audio quality with credibility. A video with clean sound feels professional. One with hiss or hum feels amateur.
Studies show people will tolerate lower video quality but click away the moment audio sounds bad. The most common culprits include:
-
Fan or HVAC hum – Steady low-frequency drone from computers or air conditioning
-
Traffic noise – Broadband rumble from outside
-
Keyboard clicks – Sharp transient sounds from typing
-
Room echo – Reflections from hard walls and empty spaces
-
Recording hiss – High-frequency noise from cheap microphones or high gain settings
Each noise type requires a slightly different approach. Consistent noise like fan hum is easier to remove. Intermittent noises like traffic or keyboard clicks are trickier .
Free Methods: The Audacity Approach
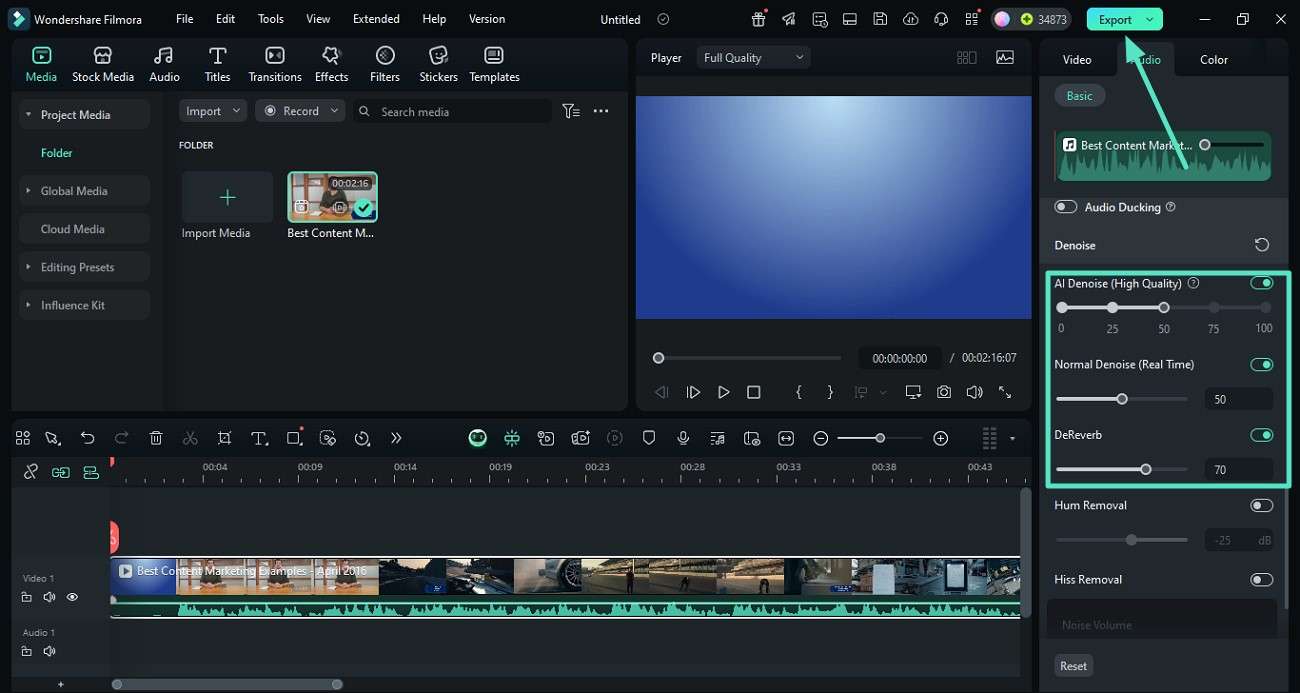
Audacity is the classic go-to for removing unwanted sounds. It's free, open-source, and runs on any computer. The traditional method works like this:
Step 1: Get a Noise Profile
Open your audio file in Audacity. Find a few seconds where no one is speaking. This is just the ambient noise of your room. Select that section with your mouse.
Go to Effects > Noise Reduction and click "Get Noise Profile". Audacity now knows exactly what noise to target .
Step 2: Apply the Filter
Select your entire track. Go back to Effects > Noise Reduction. You'll see three sliders:
-
Noise Reduction (dB) – Controls how much volume reduction is applied. Start at 6 and adjust slowly. Too high, and your voice will sound thin .
-
Sensitivity – Determines how much of the recording Audacity treats as noise. Keep this as low as possible while still removing unwanted sounds .
-
Frequency Smoothing – Smooths out digital artifacts that can appear during processing. Can often be left at zero for good recordings .
Hit Preview to check your settings before applying. If the voice sounds robotic or underwater, dial back the Noise Reduction slider slightly.
The Problem with Traditional Noise Reduction
The standard Audacity method has limitations. It requires a noise profile. If a car drives by mid-recording or someone coughs, the filter won't catch it because that noise wasn't in your original sample .
AI Tools: The New Way to Remove Noise
AI-powered tools solve this problem. Instead of subtracting frequencies, neural networks learn to distinguish speech from noise. They reconstruct what the clean audio should sound like. The results are often more natural .
Free Online AI Options
CapCut offers a one-click noise reduction tool. Upload your video or audio, toggle the noise reduction switch, and download the cleaned version. The AI automatically identifies hums, hisses, pops, and ambient noise. No account required .
You Must Also Like: How to Enable Spotify Lossless Audio: A Complete Guide for 24-bit Streaming
MiOffice provides browser-based audio denoising. Files stay on your device. No installation. No upload to remote servers. Adjust the strength slider – start with default and increase gradually if needed .
The Importance of Privacy
Many online AI tools require uploading your audio to cloud servers. This raises privacy concerns, especially for sensitive recordings like business meetings or medical dictation.
MiOffice's Audio Denoise tool runs in your browser using WASM-based noise reduction. Files never leave your device. This matters if you're dealing with confidential content .
Mobile Options
If you're recording on a phone, ByeNoise and Noise Reducer are solid choices. Both use AI neural networks trained on thousands of audio samples.
ByeNoise offers a "Speech Only" option that removes everything but the speaker's voice. The free version limits processing to 30 seconds .
Advanced Techniques: Audacity with AI Plugins
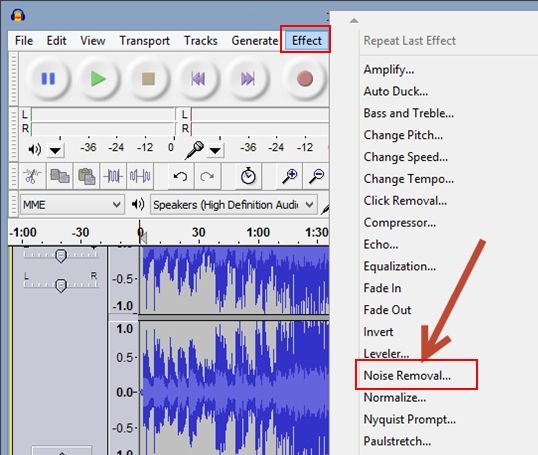
Audacity now supports OpenVINO AI plugins. This gives you the best of both worlds – Audacity's interface with AI-powered noise suppression. No more noise profiling. Just select your track, go to Effects > OpenVINO Noise Suppression, and click Apply .
The AI handles dynamic noise better. If a dog barks or a car passes during recording, the AI recognizes it as "not a voice" and removes it. Traditional tools leave these sounds in because they weren't part of the profile .
Preserving Music and Sound Effects
Sometimes you don't want to remove everything. A podcast with background music or an audio drama with sound effects needs selective noise removal.
Auphonic offers a Static Denoiser that removes steady hum and hiss while keeping music and ambient effects intact. Unlike Speech Isolation, which removes everything but voice, the Static Denoiser preserves the atmosphere .
This matters for meditation recordings, video content, and anything where the sound design is intentional.
Preventing Noise Before You Record
The best way to remove noise is to avoid creating it in the first place. Simple steps can save you hours of editing:
-
Record a few seconds of silence before speaking. This gives your noise removal tool a clean profile to work with .
-
Optimize your space. Hard surfaces create echoes. Soft furnishings absorb them. A rug, curtains, or even a clothes rack can dramatically improve room acoustics .
-
Check your equipment. Position anything that might create noise away from the microphone. Laptop fans, refrigerators, and desktop computers all generate hum .
Common Mistakes and How to Avoid Them
I've made these mistakes myself. Learning from them saves time and preserves audio quality.
Over-processing is the most common error. Aggressive noise reduction makes voice sound thin or robotic. Always start with lower settings and increase gradually.
If you can still hear a trace of noise but the voice sounds natural, that's better than a completely clean but unnatural recording .
Using compressed files for processing is another issue. MP3 files already have compression artifacts. Running them through noise removal compounds these problems. Use WAV or FLAC files when possible .
Processing entire episodes with intro music and ads can damage non-voice sections. Split your audio into voice-only segments, enhance those, then reassemble .
Choosing the Right Tool
Your choice depends on your specific needs:
For quick fixes – CapCut or MiOffice offer one-click solutions with decent results.
For professional work – Audacity with OpenVINO plugins or Auphonic gives you more control.
For privacy – Browser-based tools that process locally, like MiOffice's WASM-based denoiser, keep files on your device.
For mobile recordings – ByeNoise or Noise Reducer are your best bets.
For podcasts with music – Auphonic's Static Denoiser preserves background tracks while removing hum.
Final Thoughts
Removing background noise doesn't require expensive software or technical expertise. Free tools like Audacity and CapCut deliver professional results. AI-powered options make the process even simpler.
The key is understanding what works for your specific situation and avoiding the common pitfalls that degrade audio quality.
Start with the default settings. Listen carefully. Adjust gradually. Your ears are the best judge. Clean audio matters more than you think. It keeps listeners engaged, builds credibility, and turns amateur recordings into content that sounds professional.