




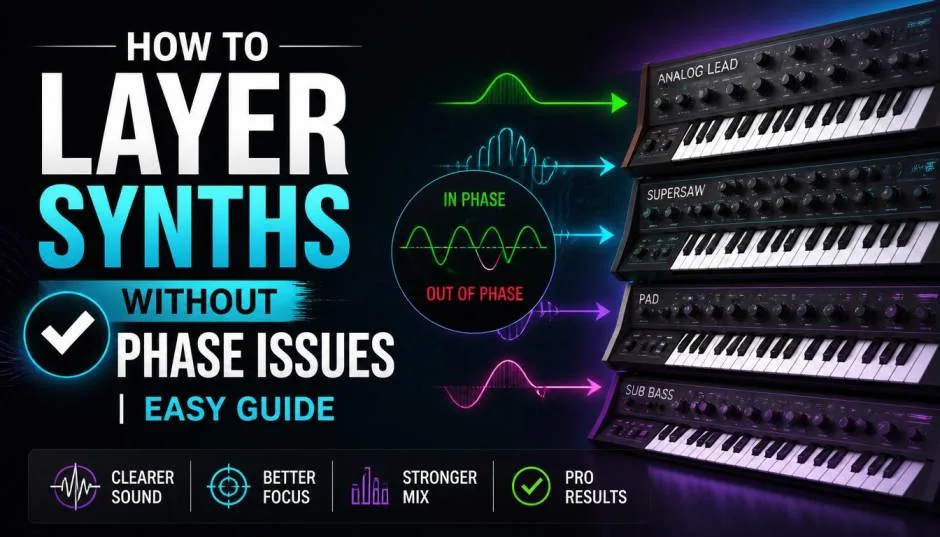
You have been there. You spend hours picking the perfect synth presets. You stack them together, expecting a massive wall of sound. Instead, you get a thin, hollow mess. It sounds weaker than a single oscillator.
That is the nightmare of phase cancellation. The answer to how to layer synths without phase issues is not about volume. It is about frequency management and phase coherence.
If two layers fight for the same space, they get blurry. If they are out of phase, they cancel each other out. This guide will show you a simple framework to build synths that are huge and clear.
Understanding the Problem: What is Phase Cancellation?
Phase issues happen when two identical or very similar sounds are combined. Think of sound as a wave. When two waves line up perfectly, they get louder. This is "in phase." When one wave is upside down compared to the other, they cancel out .
Read Also: Sonic Speculation: 10 Afrofuturism Electronic Music Artists Redefining the Genre
This is "out of phase." You hear it as a thin sound that loses body, especially in the low end. Phase issues can also cause "comb filtering." This is a hollow, metallic effect that is harsh on the ears . The best way to avoid this is to make sure your layers are not identical copies fighting for the same space.
The 3-Layer Framework for Synth Layering

Stop thinking of layers as just "more synths." Think of them as having specific jobs. A common and effective technique is to divide your synth sound across the frequency spectrum . You treat it like a puzzle where every piece has a specific job. Here is the anatomy of a massive, phase-coherent synth.
1. The Low End (The Foundation)
This is your starting point. It provides the weight and the "phat" low-end . Use a simple, powerful waveform here. A sine or a sawtooth wave works best for this .
Keep it monophonic, meaning only one note plays at a time. This prevents muddy low-end. Use a low-pass filter to cut out everything above roughly 300 Hz .
Pro Tip: Some synths have a "unison" feature. This copies the sound and detunes the copies. Subtle detuning can make the source feel thicker and more present . However, be careful in the low-end. Too much detuning can cause unwanted "beating" and instability.
2. The Mid-Range (The Body)
This layer gives your sound character and grit. It fills out the low-mids and mids. For this, use a sawtooth wave . This waveform is rich in harmonics. Take your melody or chord sequence and play it an octave higher than the low layer. Use a high-pass filter to cut out everything below roughly 300 Hz . This keeps it from interfering with your bass layer.
You Must Also Like: How to Enable Spotify Lossless Audio: A Complete Guide for 24-bit Streaming
Pro Tip: To make this sound bigger, copy the mid-range sound to a second track. Drop one down an octave. Then, subtly detune the other by just a few cents. This creates a rich "beating" effect that thickens the sound .
3. The High Range (The Air and Sparkle)
This layer gives the synth its width, sparkle, and "expensive" feel. It occupies the top end of the frequency spectrum. You can use a sawtooth wave again .
This layer is usually heavily high-passed to remove mud. Add width here using stereo effects and reverb. It makes the sound feel huge and immersive.
Pro Tip: A fantastic trick from trance producers is to add a noticeable white noise layer here . Be careful not to overpower the sound. This noise adds texture and a sense of movement.
You can even use a sidechain compressor on this high layer. Make it "duck" slightly with the kick drum. This makes the rhythm feel tighter and can help minimize low-end phase issues in the full mix .
Practical Fixes for Phase Issues
Even with frequency splitting, you might still get phase issues. Here is how to fix them.
-
Use a Correlation Meter: This is your best friend. It shows if your sounds are in or out of phase. In a stereo track, a reading near +1 is perfect. A reading near 0 means you are losing some mono compatibility. A reading near -1 means you have serious phase problems .
-
Nudge the Audio: If you have a phase issue, try a simple fix. Nudge one of the layered sounds forward by a few milliseconds. Moving a layer slightly in time can solve the phase cancellation .
-
Flip the Polarity (Phase Invert): If nudging does not work, flip the phase. Most DAWs have a "phase invert" button on the channel strip. Flipping the phase by 180° can restore the lost energy .
-
Check Your Mix in Mono: Many club systems and phones are mono. A sound that sounds wide in stereo can fall apart in mono due to phase issues. Always check your synth layers in mono to ensure they hold up .
Making Your Pad Sound Less Boring
You now know how to synth pad without boring? A good pad is not static. It evolves. You can take these layered synths and make them interesting.
-
Add Modulation: Use LFOs (Low-Frequency Oscillators) to add movement. Modulate the filter cutoff, the oscillator pitch, or the wavetable position. The key is to use different, unsynced LFO rates. This creates subtle, shifting changes that keep the ear engaged .
-
Experiment with Envelopes: Use a slow attack and release on your amp envelope. This creates a smooth, swelling sound. You can also use a filter envelope. A slow attack on the filter will gradually open the filter, making the pad sound brighter as it evolves .
-
Automate Parameters: Do not let your pad sit still. Automate the filter cutoff to open up during the chorus. Automate the reverb mix to fade in and out. Automation adds a huge dynamic to a pad that would otherwise be boring.