


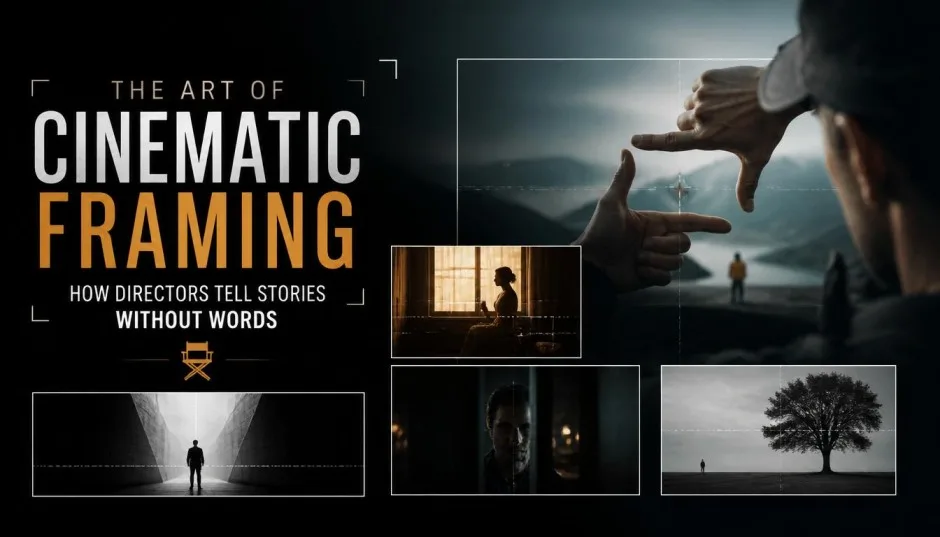
The art of cinematic framing is not about rules. It is about decisions. Every time a director places a camera, they ask one question. What do I want the audience to feel? Fear, Hope, Sadness, Confusion. The answer changes where the camera goes.
I have spent years studying film frames. Not just watching movies. Pausing them. Breaking them down. Asking why a shot works or fails. Based on that experience, here is my honest guide to framing. No textbook jargon. Just practical observations you can use immediately.
What Cinematic Framing Actually Means?
Let me clear up a common confusion. Framing is not just what fits inside the rectangle. It is about what you choose to show and what you choose to hide.
Read Also: Pop Culture of The 80's: A Comprehensive Guide
The simple definition. Framing means using elements inside your scene to create a visual boundary around your subject. This can be a doorway. A window. A shadow. Even another person.
Why directors obsess over framing. Because humans look where we point. A good frame guides the eye exactly where the story needs attention. No guessing. No confusion.
The photography connection. Framing and composition in photography follow the same principles as film. The difference is time. Photographers freeze one moment. Filmmakers string many frames together. But each individual frame still needs to work.
What happens without good framing. The audience gets distracted. They look at the wrong thing. They miss important details. That is a failure of visual storytelling.
The 7 Rules of Cinematic Framing and Composition
I learned these rules from watching great directors. Some follow them. Some break them. But you need to know the rules before you can break them well.
1: Watch Everything Twice
Professional editors watch every frame of raw footage twice before making a single cut. The first time is for emotion. The second time is for notes.
Why this matters for framing. You cannot fix bad framing in editing. You notice it too late. The shot is already in the can. Directors who check framing on set save themselves from disaster.
My observation. Young filmmakers rush. They shoot one take and move on. Experienced directors look at the monitor after every setup. They adjust. They reframe. They reshoot if needed.
2: Use Natural Frames to Add Depth
The best frames are already around you. You just need to see them.
Look for these natural frames:
-
Doorways and windows
-
Arches and tunnels
-
Tree branches
-
Fences and railings
-
Foreground objects
Why this works. Shooting through something adds layers. Foreground. Midground. Background. The image stops feeling flat. It becomes immersive.
A real example. Remember the hallway shot in The Shining? The camera looks through doorway after doorway. Each frame creates dread. No dialogue needed.
3: Frame With Light and Shadow
Here is something most beginners miss. Light can frame a subject better than any physical object.
When this works best:
-
Street photography at golden hour
-
Concerts with spotlights
-
Indoor portraits with window light
-
Noir-inspired scenes
The technique. A single beam of sunlight hitting your subject in darkness. That beam becomes the frame. Everything else fades away.
What you need to practice. Spotting light before placing your subject. Most people find a location and then look for light. Do the opposite. Find the light first. Then put your subject inside it.
4: Change Your Perspective
Eye-level shots are comfortable. They are also predictable. And boring.
Try these angles instead:
-
Get low. Shoot through grass or foreground objects.
-
Get high. Shoot down from a balcony or ladder.
-
Shoot from the hip without looking through the viewfinder.
Why perspective changes everything. A low angle makes a character powerful. A high angle makes them vulnerable. The same actor. The same line. Different camera height. Different meaning.
You Must Also Like: Inventing Anna Review: The SoHo Scammer, Explained at Length
My personal take. When I feel stuck on a setup, I move the camera three feet in any direction. Up. Down. Left. Right. That small change often solves every problem.
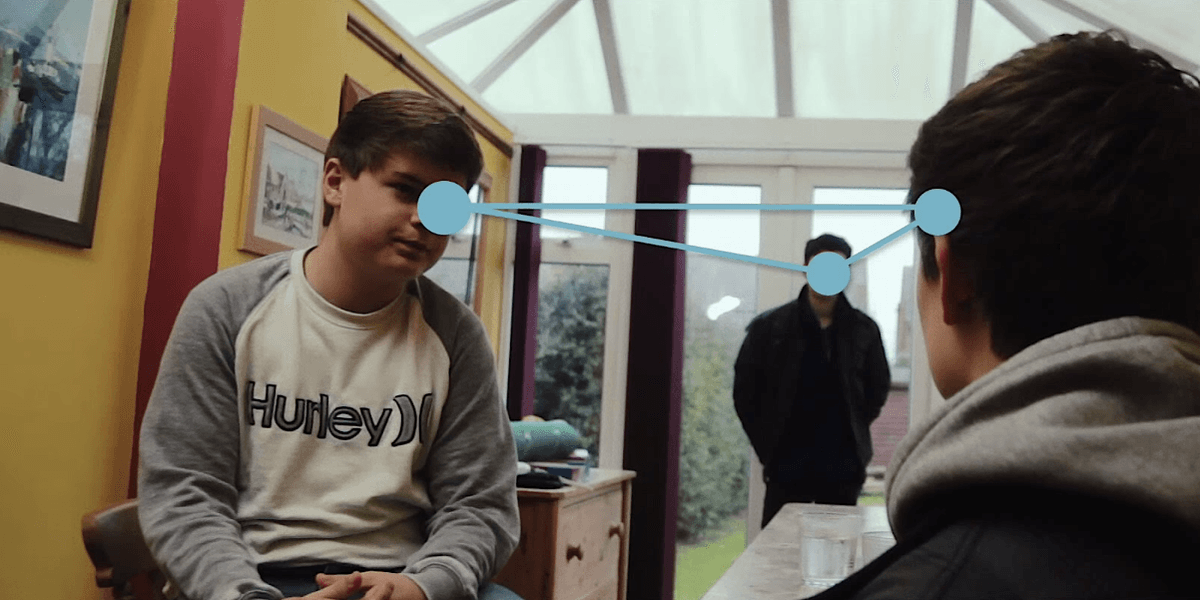
5: Use People as Frames
This is my favorite technique. Use other people in the scene to frame your main subject.
How to do this:
-
Shoot over someone's shoulder
-
Place your subject between two passersby
-
Use foreground actors out of focus
Why this feels real. It mimics how we actually see the world. We always watch through crowds. Through shoulders. Through obstacles. That natural imperfection feels honest.
The gear you need. Fast autofocus helps. But anticipation matters more. You need to predict when the right moment will happen. Then be ready.
6: Simplify to Strengthen
Here is a hard lesson I learned. Adding more elements rarely improves a frame. Removing them almost always does.
Questions to ask yourself on set:
-
What competes with my subject right now?
-
Can I move my camera two feet to remove that distraction?
-
Would a wider aperture blur the background?
The minimalist approach. A shallow depth of field isolates your subject. Everything behind them turns to soft blur. That blur becomes a frame. A negative frame. But it works.
When to ignore this rule. Some scenes need chaos. A busy marketplace. A crowded party. The clutter is the point. But those are exceptions. Most scenes benefit from subtraction.
7: Think in Layers, Not Singles
Amateur directors see one thing. Their subject. Professional directors see three things. Foreground. Subject. Background.
How to train this skill. Stop asking "what am I filming?" Start asking:
-
What is in front of my subject?
-
What is behind my subject?
-
How do these layers interact?
The film photographer advantage. Film photographers think this way because every frame costs money. They cannot spray and pray. Digital shooters should adopt the same discipline.
Framing vs Composition: Stop Confusing These Terms
Many people use framing and composition as synonyms. They are not the same thing.
Composition is the whole picture. How every element relates to every other element. Balance. Color. Shape. Line. Everything inside the frame.
Framing is a specific tool. It is about using boundaries to direct attention. Doorways. Windows. Shadows. Edges.
The simple way to remember. Composition is the song. Framing is one instrument in the band. Important. But not the whole show.
Why this distinction matters. If you only think about framing, you miss other composition tools. Color contrast. Leading lines. Symmetry. All of these matter too.
How Aspect Ratios Change Everything About Framing?
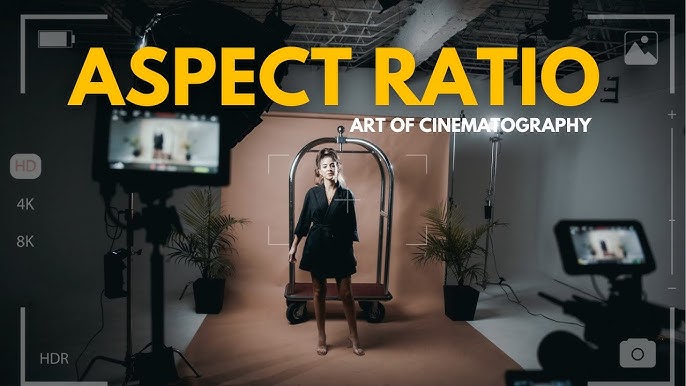
Here is something most casual fans never notice. The shape of the frame changes how directors compose shots.
Common aspect ratios.
-
1.85:1 (standard widescreen)
-
2.39:1 (cinematic widescreen)
-
1.43:1 (IMAX)
-
4:3 (older TV style)
What different ratios do. A wide rectangle changes how you place characters. You have more horizontal space. Two people can stand far apart in the same frame. A taller frame changes vertical relationships. Power dynamics. Height differences.
A real example. The Lighthouse used a nearly square 1.19:1 ratio. That choice made everything feel cramped. Trapped. Exactly the feeling the director wanted.
My advice for beginners. Master standard widescreen first. 1.85:1 or 16:9. Learn to compose in that shape. Then experiment with other ratios once you understand the basics.
Common Framing Mistakes I See Every Time
Let me save you from the errors I made starting out.
1: Headroom problems. Too much space above the subject's head looks amateur. Too little looks claustrophobic. Find the sweet spot.
2: Cut-off joints. Never frame a cut at someone's neck, knees, or ankles. It looks like an accident. Cut between joints. Waist. Chest. Mid-thigh.
3: Ignoring the edges. What is happening at the border of your frame? A tree branch growing out of someone's head? A light stand in the corner? Check your edges before every take.
4: Centering everything. The middle of the frame is boring. Put subjects on the thirds. Leave space for them to look into.
The Best Lenses for Different Framing Styles
Different focal lengths change how framing works. Here is what each one does.
Wide lenses (24-35mm on full frame). These emphasize foreground elements. You can frame a subject through something close to the lens. Great for immersive scenes. Bad for flattering portraits.
Standard lenses (35-50mm). These feel natural. Close to what the human eye sees. Good for most situations. Not great for anything specific.
Telephoto lenses (85mm and up). These compress distance. Background elements look closer to the subject than they actually are. Great for isolating faces. Bad for showing environment.
My personal kit. I carry a 24mm, a 50mm, and an 85mm. That covers every framing situation I encounter. You do not need more.
How to Practice Framing Without Expensive Gear?
You do not need a cinema camera to learn framing. Your phone works fine.
The exercise I recommend. Go outside with your phone. Give yourself one rule. Do not take a photo unless it has intentional framing. A window. A shadow. A gap between people. Something.
Why this works. It forces you to see. To look for frames instead of just pointing at subjects. Do this for one hour. You will never shoot the same way again.
Level two of the exercise. Now add layers. Foreground. Subject. Background. All three present and intentional. This is harder. But this is where professional work lives.
What to look for in your practice. Natural frames are everywhere. Doorways. Trees. Bridges. Crowds. Once you start seeing them, you cannot stop. That is the goal.
The Emotional Impact of Different Framing Choices
This is the most important section. Framing is not technical. It is emotional.
Close framing. Tight on the face. No space to breathe. This creates intensity. Fear. Intimacy. Used in horror and romance for opposite reasons.
Wide framing. Subject small in the frame. Lots of empty space. This creates loneliness. Isolation. Freedom depending on context.
Off-balance framing. Dutch angles. Tilted horizon. This creates unease. Something is wrong. The world is not stable.
Symmetrical framing. Perfect balance. Equal space on both sides. This creates order. Control. Sometimes madness disguised as order.
A real example. Watch the framing in Parasite. Poor characters are often framed with lines cutting through them. Fences. Edges. Trapped. Rich characters have open space. Freedom. The frame tells the class story without a single line of dialogue.
Final Thoughts From Years of Watching Bad Frames
I have made every framing mistake I listed here. Too much headroom. Cut-off joints. Ignored edges. Forgot to check backgrounds. Each mistake taught me something. The art of cinematic framing takes practice. Not theory. Not expensive gear. Just shooting and reviewing and shooting again.
What matters most. Intent. A frame can break every traditional rule and still work if the choice is intentional. A frame can follow every rule perfectly and fail if the director had no reason for those choices.
My honest advice. Stop reading about framing for one week. Go shoot for one week. Then come back and read more. The balance between learning and doing is what separates students from filmmakers.

